Timz MESH Info Page How I Mounted the Ubiquiti Bullet M2
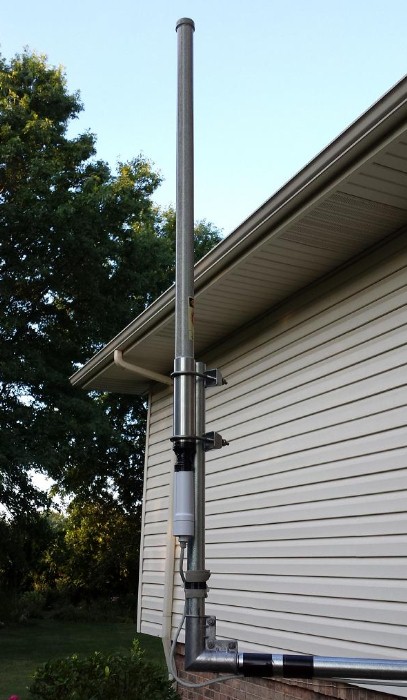
the antenna: L-Com (also sold under the HyperLink name) HG2415U, 15dBi Outdoor Omni Directional
Note: one the bottom of this antenna next to the edges of the N-Connector... are two half-moon shaped weep-holes (vents):
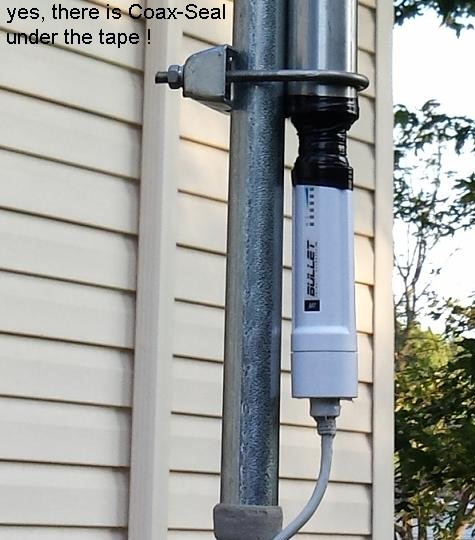
They need to remain open to the atmosphere. When sealing the connection with CoaxSeal type putty... make certain to seal around these vents; keep them open.
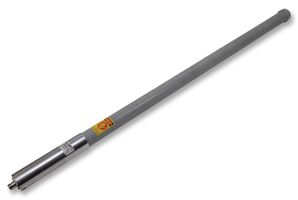
The Ubiquiti Bullet: M2 airMAX Hi Power X000FEM07J
reflashed to MESH V2 by WA8APB
Click HERE for info on the more-rugged Titanium model
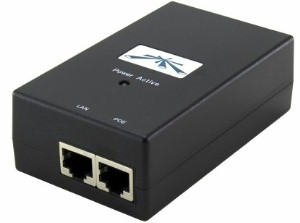
Powered by: Ubiquiti POE-24 (GP-B240-100):
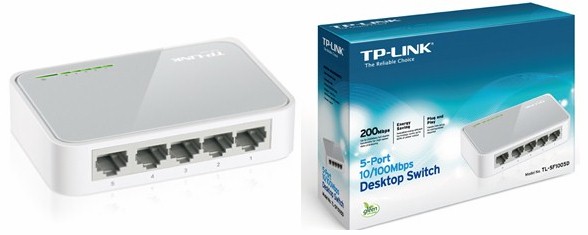
Want to add a few devices to your Bullet?
I am using a TP-Link desktop switch from Amazon.com; worked right out of the box; TL-SF1005D
Plug your Bullet into any port; other devices into any of the others. About $9.00
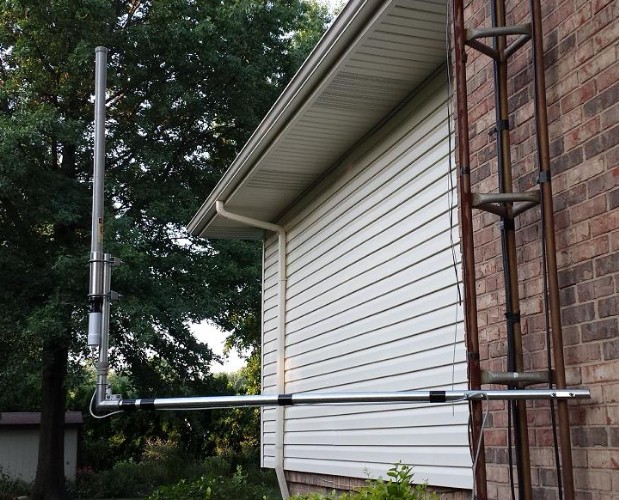
Made a side arm mount:
in the above pic, it is only about 5' off the ground. Was raised to the 72' mark on Auguet 16, 2014Bellbrook Location
I intentionally rotated the M2 where the LED status panel is pointed towards an open spot on my property. At night, I can see the red LED via naked eye; but need binoculars to see the green LEDs.
Many thanks for the help of N8DCP and WA8APB with this antenna install.
I went with CAT 6 shielded cable from CNA, though the equipment only requires CAT5e
Computer Network Accessories #43-945 100' CAT6 shielded with connectors installed:
ww.cnaweb.com located on Burkhardt Ave in east Daytonor, you can get the direct burial cable, shielded, in CAT5e from Amazon:
Click Here; 100; length with connectors already installed
The Ubiquiti M2 HP and their POE are optimized to take advantage of shielded cables.
Here's another method if you're not using a large antenna, or just connecting coax to it.
email Tim